
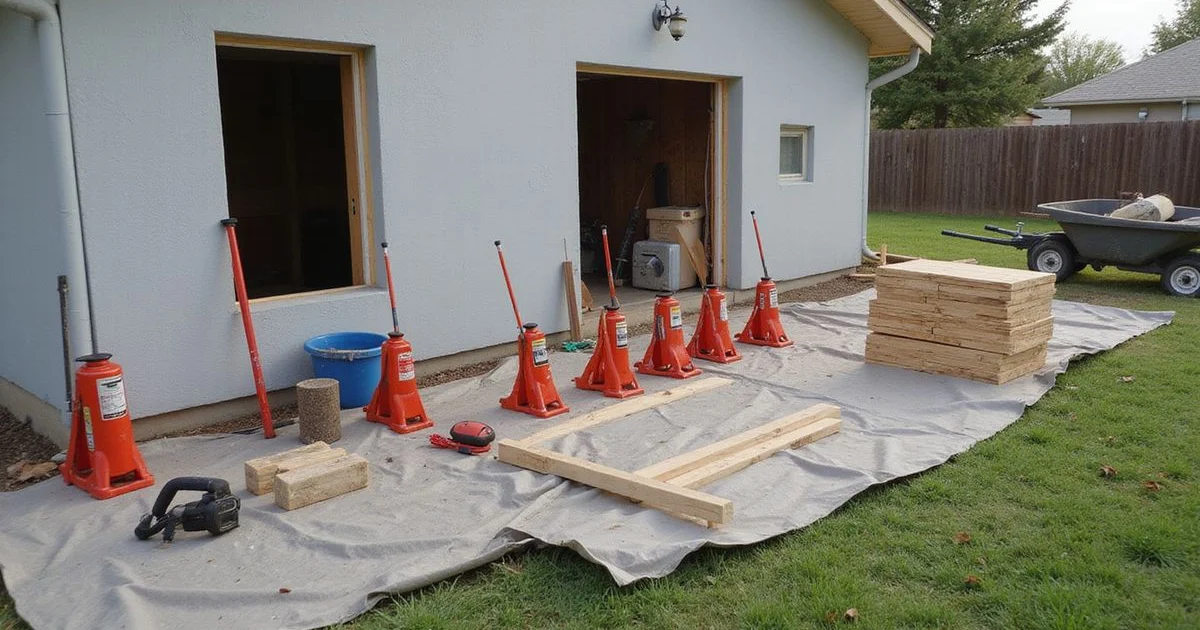
What a house leveling project involves, from preparing the rooms above to the readings you receive afterwards.
Before anything moves
The sequence matters. An evaluation establishes the current elevation picture and the cause. A written scope follows, stating the target tolerance, the method, the support points being adjusted, and what restoration is included.
Critically, the scope should define what elevation outcome is being committed to. If it does not, you are buying stabilization with a leveling label — see leveling versus repair for why that distinction matters.
Preparing the house
- Take things off walls and shelves in rooms above the work area. Adjustment produces small movements and picture frames do not survive them.
- Clear access to the crawlspace hatch, or around the perimeter on a slab home.
- Move fragile or valuable items away from the work zone entirely.
- Photograph the interior yourself, dated. The crew will document too, but a second independent record costs nothing.
- Secure pets away from open access points and equipment.
- Note anything unusual — recent plumbing work, known pipe issues, a wall you are already concerned about.
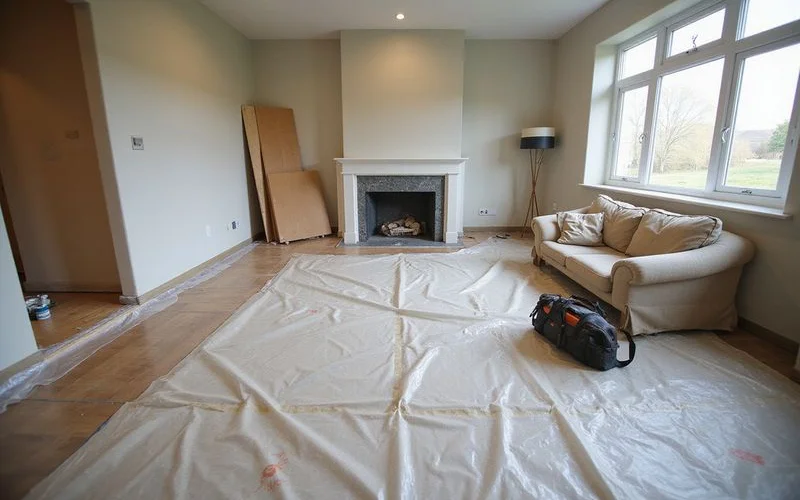
The work, stage by stage
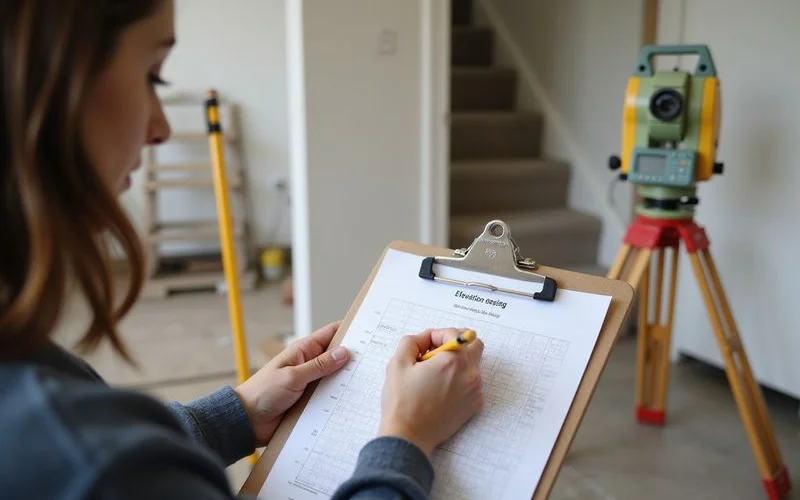
Baseline documentation. Elevation readings and photographs of existing condition — cracks, finishes, door operation — recorded before anything moves.
Temporary support. Load is taken at the working points using jacks and cribbing properly seated. On a pier-and-beam home this happens in the crawlspace; on a slab, supports are installed at the grade beam first.
Staged adjustment. Elevation is recovered in increments across multiple points rather than all at one location. Readings are taken between stages and the structure’s response is watched.
Permanent support. Shims are seated and permanent supports fixed at the achieved elevation. Temporary equipment comes out — no jacks left in place as the long-term solution.
Final readings. Post-work elevations recorded, showing what was achieved against the target.
What you will hear and see
Noise from the work area, concentrated during the working day. Creaking and settling sounds from the structure as it adjusts, which are normal and expected.
Cracks may close, partially close, or widen slightly. Doors may operate differently. Trim gaps may change. Tile, if it is old and brittle, occasionally cracks.
None of this should be a surprise. It is why the baseline documentation is taken, and it is why staged adjustment is worth the extra time.
Restoration and aftercare
| Item | Usually included | Often excluded |
|---|---|---|
| Work area cleared and tidied | Yes | — |
| Temporary equipment removed | Yes | — |
| Backfill and grade, where excavated | Yes | — |
| Door and window adjustment | Sometimes | Often |
| Interior crack patching | Rarely | Usually |
| Masonry repointing | Rarely | Usually |
| Flooring restoration, where opened | Should be specified | Check |
Door and window adjustment is the most commonly underestimated item. Where several were fitted to the settled position, budget something for getting them right afterwards.
What you should receive
Before-and-after elevation readings — the target, and what was actually achieved. This is the evidence the project did what it set out to do.
A record of what was adjusted and where — which supports, which framing members if any, what materials.
The written warranty document, with its terms, triggers, exclusions, and transferability. See understanding foundation repair warranties.
Keep the set. It is the file a buyer, an engineer, or a future contractor will want.
For what leveling can realistically achieve on an older home, see what is house leveling. For the service, see house leveling.